The Fine Art of Biking Brake Management
Biking, a sport loved by many, often comes with its set of challenges, one of them being effective brake management for better speed and control on trails. Professionals seem to have mastered this technique, making it appear seamless, but it’s a skill many riders fail to refine. Let’s delve into several methods to augment our braking techniques for improved control and potentially faster trail times.
The Varied World of Bike Brakes
A good starting point to understand braking is to familiarize ourselves with the types of brakes available. There are essentially two kinds: mechanical and hydraulic. Mechanical brakes operate through a cable system, whereas hydraulic brakes utilize fluid to function.
Understanding Four-pot and Two-pot Brakes
We further have two distinct brake designs, four-pot and two-pot. Neither is inherently superior, as each type comes with its own set of advantages and disadvantages. My bike, for instance, is equipped with Shimano XT four-pot brakes, which signifies the presence of four pistons working in pairs. Four-pot brakes often provide greater power but can be heavier and may occasionally be overly responsive if improperly adjusted.
On downhill bikes, one commonly observes a combination of four-pot brakes and larger rotors to maximize power and braking capabilities, ideally suited for challenging, steep trails. In contrast, many trail bikes are equipped with two-pot brakes, although a four-pot brake might be employed in the front or both ends, depending on rider preference. The choice of brakes is subjective and often depends on the type of biking application.

Emphasizing the Importance of Body Position
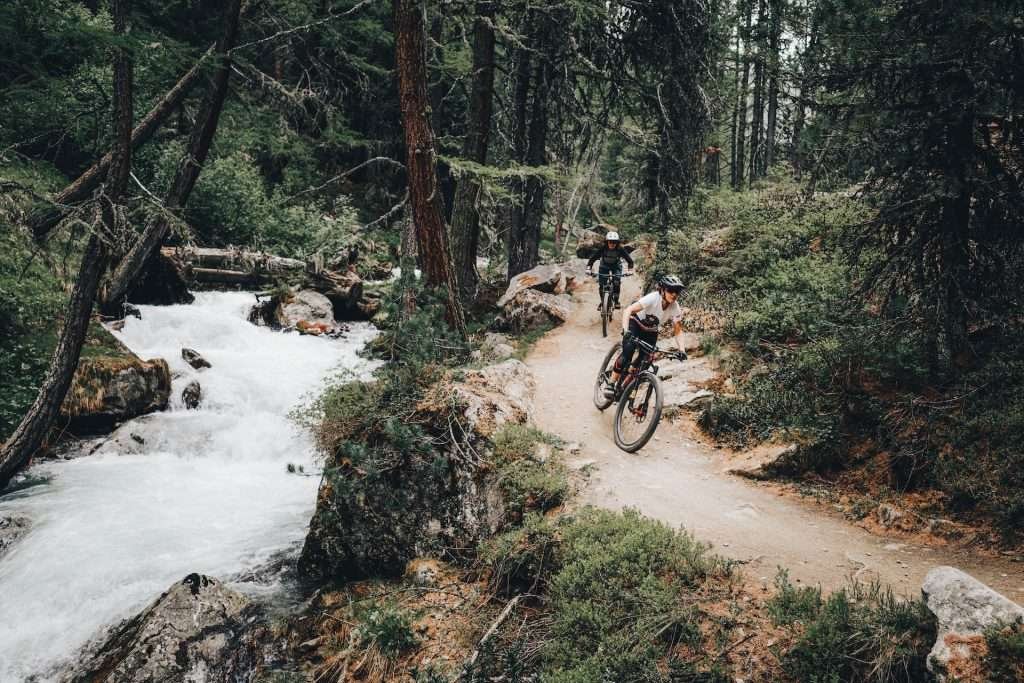
Neil and Blake’s body position under heavy braking offers an excellent demonstration. The momentum shifts their weight forwards onto their arms, so maintaining a strong upper body is crucial to prevent the rear wheel from becoming unweighted on steep trails. Ideally, your weight should be slightly behind the center of the bike, with your hips just behind the saddle and your arms slightly bent. Your shoulders and hips should remain in line to avoid twisting and losing control.
Achieving Mastery in Braking Control
Professional bikers demonstrate exceptional braking control, a skill honed over years of practice and numerous rides. Learning often comes from trial and error, often with some unfortunate incidents, but these experiences generally lead to improvement. One way to practice braking control is by repeatedly riding a familiar section of the trail and varying your speed, line choice, and entrance and exit speeds. These minor alterations compel you to use your brakes differently, which in turn improves your understanding of their functionality in diverse situations.
Understanding Terrain and Brake Use
It’s essential to avoid overly sharp braking, especially in wet conditions, as this can disturb your body weight balance on the bike and potentially cause loss of grip. In terms of time efficiency, abrupt braking could scrub more speed than required for a given section. Therefore, the ability to interpret terrain and surface conditions is pivotal to applying brakes effectively. The wetter and looser the conditions, the smoother your braking should be, as locked wheels can easily skid out of control.
The steepness of the trail will also influence which brake you use more. On sharp turns, the front brake is often used to slow down, while the back brake helps change direction.
Tires: The Critical Factor
The selection of tires based on surface conditions can significantly impact your braking. Aggressive, spike-laden tires, like the Vittoria Mota, provide improved traction and stability in muddy conditions. Conversely, a dry tire like the Vittoria Martello is suited to drier or bike park conditions, offering predictable braking and better rolling speed.
Personalizing Brake Settings
Brake setup can largely depend on personal preference and terrain type. I set my brakes at 38 degrees, regardless of the bike I’m using. Some riders prefer a flatter setting, while others opt for a steeper one. Experimentation is key to finding a comfortable setup.
Finally, most modern brakes are designed to be operated with just one finger, generally the index finger placed towards the lever’s end for optimum leverage and control. Adjusting lever positioning and distance from the grip can help achieve a comfortable fit for your finger.
FAQs
Q: What types of brakes are available?
A: There are two primary types: mechanical and hydraulic. Mechanical brakes are cable-operated, while hydraulic brakes utilize fluid.
Q: What’s the difference between four-pot and two-pot brakes?
A: Four-pot brakes have four pistons working in pairs, providing more power but being heavier. Two-pot brakes, on the other hand, might be lighter but offer less braking power.
Q: What’s a good body position for braking?
A: Your weight should be slightly behind the bike’s center, with your hips just behind the saddle, and your arms slightly bent. Keep your shoulders and hips in line to maintain control.
Q: How can one improve braking control?
A: Practicing on familiar sections of the trail with varying speeds, line choices, and entrance and exit speeds can help improve braking control.
Summary
Effective brake management is an essential skill for enhancing speed and control on biking trails. Understanding the types of brakes, maintaining an appropriate body position, mastering braking control, and selecting the right tires can all contribute to improved performance. Personalizing brake settings to match individual preference and terrain types can further optimize comfort and control. With practice and patience, one can transform braking from a mere necessity to an art form that significantly enhances biking experience.


